
Build Your CCNA Lab
A CCNA lab is a place to test one question twice: once for a baseline, and again after a change. Start with the smallest lab that can answer a question, two computers plugged into one switch, write the plan on paper before typing a command, and record each check as prediction, action, observation and meaning.
By Arif, founder of Daveth · Updated
The full 9 min walkthrough is in Daveth Pro (Network). See what the plan opens
What this page answers
How do you build a network home lab?
Begin with the smallest lab that can answer a question: two computers, each plugged into one switch, with a router added when a topic needs one. Write down what plugs into what, and each computer's address, before the first command. Read it in “Start tiny: two computers and a switch”
What a lab is for
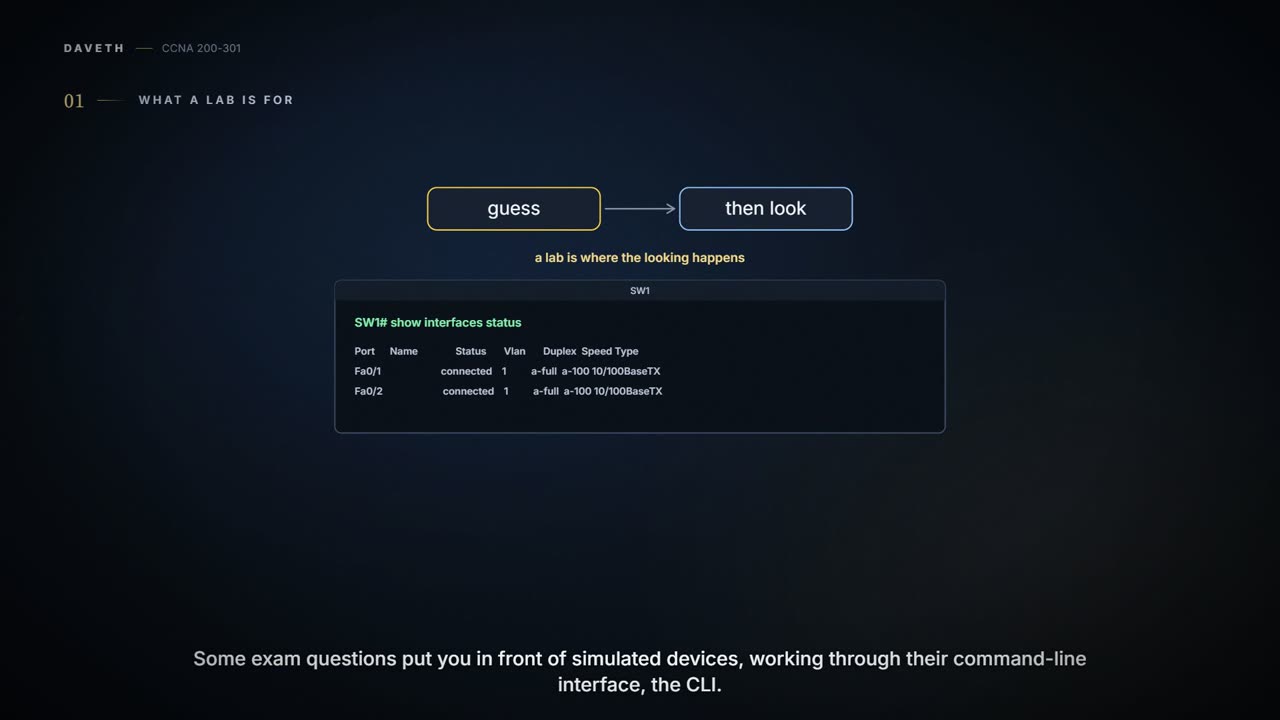
Every page in this course asks you to guess, then look. A lab is where the looking happens. Some exam questions, the sims and simlets, put you in front of simulated devices, working through their command-line interface (CLI): a text screen where you type a command and the device answers with messages. To handle those, you need a lot of commands, and you need to know where in the CLI to type each one. Reading about commands doesn't build that. Typing them does.
A lab isn't a room full of blinking boxes. It's one question you can test twice.
Once to get a baseline, and again after you change one thing; then you compare. Some features take several commands that only work together. Part of the skill is knowing which ones go together, which are required and which are optional, often across several devices. So a good lab exercise gives you a drawing and a few requirements, and leaves the choosing to you; then you check your answer against a sample. Written on paper, short ones take five or ten minutes and fit into idle moments. Whatever happens, you win something: you get faster at the basics, or you find a gap to go back and fill. By the end of the course, you should be able to do them without help.
- real switches and routers, bought new or used, rented, or borrowed at work (spare ones, not ones in use); on real gear you can also rebuild the examples from these pages;
- a simulator, a program that imitates the devices' software; some are free, some come with step-by-step exercises, and a limited free one is enough to start;
- a virtualization tool that runs the devices' real software on a computer, in a drawing you build;
- lab time rented online.
Whichever you use, use tools you're licensed to use. You don't need to buy anything to start. What you do need is practice at the CLI, one way or another: most people need it to be ready.
You can think of a simulator as a flight simulator for network devices: the screens look right, and you can crash without hurting anyone. (Where it stops: a flight simulator models the physics of flight, while a network simulator imitates the device's software, and some commands or features may simply be missing. When something won't work there, that may be the tool's limit, not proof the idea is wrong.)
Start tiny: two computers and a switch
Begin with the smallest lab that can answer a question: two computers, PC-A and PC-B, each plugged into a switch, SW1: a box with a row of ports (sockets for network cables) that connects the devices plugged into it. Fa0/1 and Fa0/2 are the names of two of SW1's ports. A router, which connects separate networks, can join later, when a topic needs one.


The lab: PC-A on SW1 Fa0/1, PC-B on SW1 Fa0/2.
Before any command, write the plan on paper: what plugs into what, and which address each computer gets. Commands come second, and the plan is what you'll check them against.
| Device | Plugged into | Address | Mask |
|---|---|---|---|
| PC-A | SW1 Fa0/1 | 192.0.2.10 | /24 (255.255.255.0) |
| PC-B | SW1 Fa0/2 | 192.0.2.11 | /24 (255.255.255.0) |
| SW1 | both computers, on Fa0/1 and Fa0/2 | no address needed for this lab; both ports left at their defaults |
The address is how other devices reach each computer. The mask, written /24 here, tells each computer which addresses are on its own local network; both need the same one here. The 192.0.2.x addresses are set aside for documentation and examples, so a lab that uses them doesn't borrow anyone's real addresses. SW1 needs no settings at all: out of the box, every port on a switch starts in the same group, VLAN 1, so the two computers already share one.
Build it in layers, and check each layer before the next: the cables and port lights first, then the addresses. Later labs add more layers on top, one at a time, such as the way out to other networks. Before the cables go in, write one guess on the sheet: can PC-A ping PC-B yet? Then cable up and find out. And if something goes wrong on the way, say a mask typed differently on one computer, it isn't a failure. It's an experiment you didn't plan, with evidence to read.
The evidence sheet
Each check goes on a sheet with four columns: what you predict, the command or action, what you actually observed, and what it means. The last column matters most, because a check proves something, and only that something.
Three words first. Every computer's network card has a hardware address, its MAC address, built in when the card is made. SW1 learns each computer's hardware address from the messages that arrive, noting the port each one came in on, and keeps them in a table. PC-A keeps a neighbour list too: the addresses it has matched to hardware addresses, filled in when it needs to send to them. And ping sends small test messages, called packets, to an address and waits for replies.
| Prediction | Command or action | Observation | Meaning |
|---|---|---|---|
| PC-A's test messages to PC-B get replies | ping 192.0.2.11 at PC-A | replies came back | the network carried messages from PC-A to 192.0.2.11 and back; it doesn't say which port they used |
Know where you're typing. The computers and the switch use different families of commands, and even two kinds of computer differ. On a computer, commands go into its command window, the text screen for typing commands:
| Where you type it | Command | What it shows |
|---|---|---|
| PC-A or PC-B, on one common desktop system | ipconfig /all | the computer's own address and mask |
| PC-A or PC-B, on one common desktop system | arp -a | its neighbour list: addresses it has matched to hardware addresses |
| PC-A or PC-B, on many other systems | ip address (or the older ifconfig) | the computer's own address and mask |
| PC-A or PC-B, on many other systems | ip route | its routes to other networks (for now, just the lab's own network) |
| PC-A or PC-B, on many other systems | ip neigh | its neighbour list |
| PC-A, on either kind of system | ping 192.0.2.11 | whether test messages to PC-B's address get replies |
| SW1 | show interfaces status | each port: connected or notconnect, and its group (VLAN) |
| SW1 | show mac address-table dynamic | which hardware address SW1 has heard on which port |
Nothing about the network. The error only says the computer doesn't know a switch command. Label each command on your sheet with where it runs, and a failed command won't be mistaken for a failed network.
No. Nothing is learned until something arrives. In a real lab the computers may send something on their own soon after they're cabled, so the table may not stay empty for long; you can't know what's in it without looking. That's why the baseline goes: read the tables, ping PC-B from PC-A, then read them again.
SW1# show interfaces status
Port      Name               Status       Vlan       Duplex  Speed Type
Fa0/1                        connected    1          a-full  a-100 10/100BaseTX
Fa0/2                        connected    1          a-full  a-100 10/100BaseTX
! (the other ports omitted: nothing is plugged into them)
SW1# show mac address-table dynamic
          Mac Address Table
-------------------------------------------

Vlan    Mac Address       Type        Ports
----    -----------       --------    -----
   1    0200.1111.1111    DYNAMIC     Fa0/1
   1    0200.2222.2222    DYNAMIC     Fa0/2
Total Mac Addresses for this criterion: 2
Now the evidence says two different things. A reply to the ping proves the network carried messages from PC-A to 192.0.2.11 and back. An entry in SW1's table proves much less. (And later, when you type settings into SW1, remember that a command it accepts has only been understood, not proven to work.)
The switch learned who entered the room. It has not checked their entire life story. (Where it stops: a switch never checks anyone's story at all; it notes a hardware address and a port, nothing more.)
Only that SW1 heard from that card, on that port, at some point. It isn't proof that PC-B is there now, or that its address is right. Save this whole screen, and PC-A's, as your baseline.
Continue the lesson
The whole lesson, with its drawings and its questions. The rest of this section and 3 more after it.